Reliable Internet. Business Phones. Optimized Solutions.
Simplify IT & Cloud Communication for Your Business


Are These Everyday Issues Holding You Back?
You’ve probably experienced some of these problems before.
Stop us when this starts to sound familiar...
Too Many Platforms, Too Little Productivity and Focus…
Constantly switching between apps slows your team, increases errors, and kills efficiency across the organization.
Support That Slows You Down Instead of Helping…
Waiting hours or days for answers leads to downtime, confusion, and lost confidence in your IT systems.
Unexpected Costs That Wreck Your IT Budget Fast…
Unexpected bills and unclear pricing make accurate planning impossible and quickly destroy trust in your IT provider.
We're Here to Set the Record Straight...
You Deserve a Partner Who Keeps IT Simple and Effective.
You deserve an IT partner who reduces complexity and delivers consistent performance. We simplify systems, eliminate confusion, and help your business operate with clarity and control through every stage of growth, without added stress or cost.
Our team delivers unified tools and proactive support that work in harmony with your operations. We prevent problems before they affect your team, align with your business goals, and ensure your staff stays productive, secure, and confident at all times.

Here is How We Do it:
Reliability That Delivers Daily
Our cloud is purpose-built for performance with blazing-fast responsiveness, 99.999% uptime, and gold-standard security proven by annual SOC 2 Type II audits.
Empowerment Through Control
We give you powerful admin tools that provide visibility and flexibility. You can manage users, settings, and services easily from any secure device at any time, anywhere.
Support That’s Always There
Our support team is available around the clock to help with anything you need. We handle setup, migration, and ongoing service with a focus on long-term partnership.
Simplicity Without Compromise
We design systems to work together seamlessly. With streamlined interfaces and intuitive navigation, your team stays productive without frustration or wasted time.
Need Better IT Without the Headaches?
We combine your tools into one powerful, easy-to-use system that boosts efficiency, reduces chaos, and gives your team exactly what they need to succeed.
Give us a call at (856) 754-4859 or complete the form to get started with simpler, more reliable IT built for the way your business actually works the way you need it to.
What Happens Next?
What Clients Say About Us
I've had the privilege of working with Adhish for 16 years. He's been a great resource, and he's always willing to walk me through a process so I can expand my own knowledge. His web and DNS server offerings and support have been instrumental in keeping our client's websites up and running effectively. I have always appreciated his responsiveness, and value his partnership as a vendor.

TRACIE FOSTER, VP: PRODUCTION SERVICES
Panzano & Partners, L.L.C.
I have had the privilege of working with Adhish for nearly 15 years on various infrastructure and remote projects. Adhish is highly organized and accessible. I highly recommend him to anyone who wishes to work with a professional IT organization that can deliver results on time and budget.

SCOTT GORDON, CHIEF OF FINANCIAL INVESTMENT & DEVELOPMENT
Blatteis & Schnur
Adhish helped us significantly reduce our costs with his VoIP, network, and e-mail/web hosting solutions. He is very responsive to all concerns or questions and also proactive in offering advice for further improvements.

BROCK MCCORMACK, SPOKESPERSON
Deutsche Messe
What Makes Us Different?
We Take a Personal Approach to IT Support

Faster ROI, Lower Costs
Avoid large upfront investments and enjoy predictable monthly fees. Save on hardware, licensing, power, and bandwidth while increasing revenue.

Security & Continuity
Our SOC 2 Type II datacenters provide 24/7 protection, spam filtering, and infrastructure redundancy to keep your business secure and available.

SMB-Ready Enterprise
Access top-tier business software with seamless upgrades, multi-device syncing, mobile access, and the ability to scale instantly as your needs evolve.

Unmatched Simplicity
We deliver an intuitive, unified platform that eliminates complexity. Everything is easy to use, easy to manage, and built to make your day smoother.

On-Demand Scalability
Grow at your pace. Add or remove users and services quickly without disruption, helping you stay agile and responsive as your business changes.

No More IT Headaches
We handle updates, patches, and security in the background so your team can focus on work—not tech maintenance or downtime.
What Comes With Our Unified Communications Service
Phone System

Mobile

Desktop

Video Conferencing

Screen Share

Remote Office

Phone

Voice Mail

Presence Indicator

Fax

File Collaboration

File Backup


Phone System
- Cloud-based phone service with 90+ enterprise-grade features
- High-level network call quality and uptime
- Single web-based management portal
Fax
- ETI WebFax is a “virtual” fax service
- Receive and manage faxes via the web
- Transmits faxes directly from a Windows®-based PC
Voicemail
- Listen and manage from the desktop phone or through the mobile app
- Transcribed messages can be delivered via email or viewed on the mobile app
- Voicemail can be received or forwarded as a downloadable email attachment
Mobile
- ETI Elevate Mobile App: makes any mobile device a business communications tool
- Instant access to call anyone in the company
- Features: call transfer, call flip, and ability to manage multiple calls
Screen Sharing
- Real-time screen sharing improves collaboration and speed of decision making
- Browser-based and full HD—no downloads or extensions required
Presence Indicator
- See whether your company contact is available or busy on the phone
- Desktop phones include a busy lamp field (BLF) in the LCD display
- Desktop and mobile apps display presence information alongside each company contact
File Collaboration
- 2GB per user of storage for ShareSync backup and file sharing
- Access files stored in computers, mobile devices, file servers, and the web
File Backup
- Real-time backup of all files, mobile photos, and videos
- Point-in-time file restoration for quick recovery from ransomware and other data loss
Remote Office
- Phones can be plugged in to any location that has a network connection
- Remote desk phones work exactly the same way as they do in the office
Phone
- Phones are plug and play, delivered pre-configured to work with the Elevate service
- No special setup or technician required
- Polycom, Cisco and Yealink: several models to choose from to meet any business need
Sign Up for Our Free Email Newsletter & Join Our Community
Learn How a Carefully Developed IT Strategy Can Help Your Organization Operation More Efficiently
Keeping your IT ahead of the curve is a full-time job (and then some). That’s why we make it a point to educate our clients on the principles of IT before they make a big decision.
Our email newsletter covers a range of key topics at the intersection of IT strategy and business management, explaining:
The many overlooked ways that properly support technology can contribute to business growth and development.
What a contemporary approach to cybersecurity should address.
How IT can increase productivity, help you automate certain tasks, and most importantly, reduce your overhead.
Our Areas of Expertise
We provide expert IT support across a wide range of industries. Our solutions are designed to meet the unique needs and challenges of each sector, ensuring seamless operations and long-term success.

Small Business

Mid-Market to Enterprise

Retail Business
Blogs
Stay informed with the latest trends and developments in the world of technology. Our blog covers the challenges, innovations, and strategies that are shaping industries today. Discover how these changes can impact and enhance your business operations.
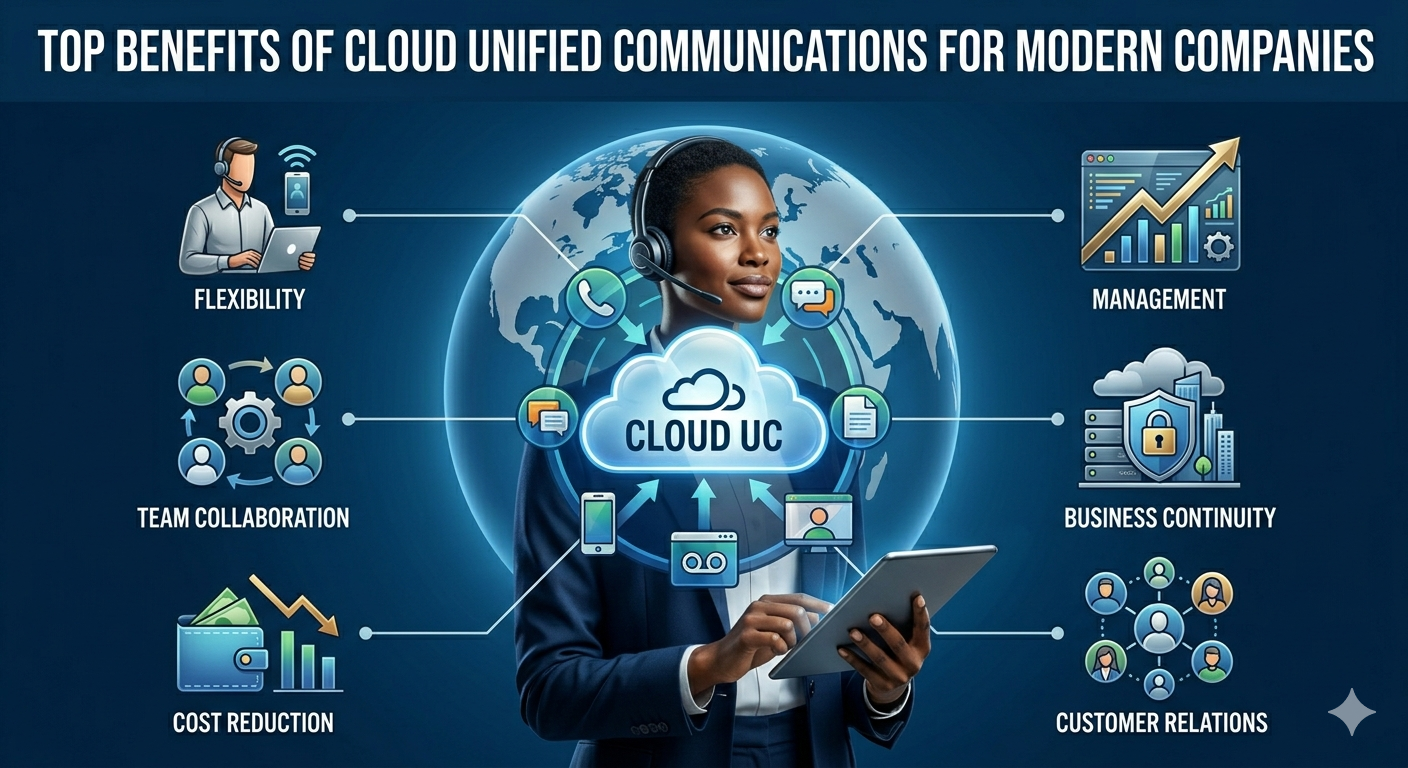
Top Benefits of Cloud Unified Communications for Modern Companies
Discover the top benefits of cloud unified communications for modern businesses, including improved collaboration, remote work flexibility, lower costs, scalability, and better customer communication. ...more
IT Services
May 23, 2026•4 min read
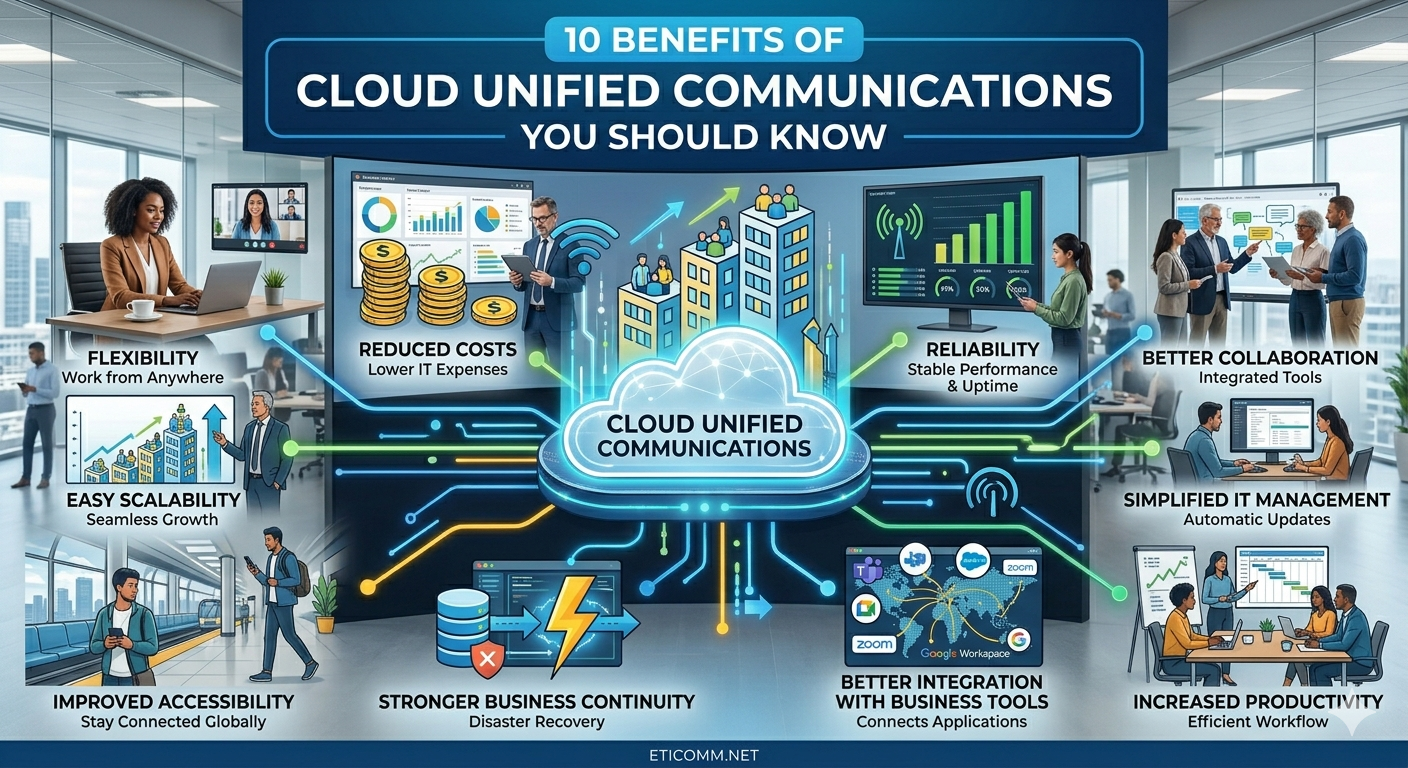
10 Benefits of Cloud Unified Communications You Should Know
Discover the top 10 benefits of cloud unified communications, including improved collaboration, scalability, cost savings, and flexibility for modern businesses. ...more
IT Services
April 23, 2026•3 min read

Reliable Cloud Exchange Providers for Secure, Scalable Business Networks
Discover how reliable cloud exchange providers enable secure, scalable, and high-performance business networks. Learn benefits, security features, and how to choose the right provider. ...more
IT Services
December 17, 2025•4 min read
FAQs
What makes ETI different from other IT providers?
ETI simplifies your tech stack by combining voice, data, and cloud into one platform. We’ve been doing this since 1999 with a relentless focus on service. You get unified tools, predictable pricing, and expert support that actually delivers.
Do you support both small and growing businesses?
Yes. ETI is built for SMBs and scales with you. Whether you’re just getting started or adding locations and users, our solutions adapt to your needs without adding complexity. You only pay for what you need, when you need it.
How does ETI handle cloud security?
Security is baked into everything we offer. Our datacenters are SOC 2 Type II audited and include 24/7 monitoring, redundancy, and strong digital threat protection. You can trust your data and communications are always safe and accessible.
Can I switch to ETI without downtime or hassle?
Absolutely. We handle your entire migration, including setup and onboarding, at no extra cost. Our team ensures a smooth transition without disruption to your business. You’ll be up and running quickly with full support throughout the process.
© Copyright 2026 ETI - Connect Your World. All Rights Reserved. Built with MSP Sites. | Privacy Policy |

